May 17, 2015
Ford Problems, TIME-SERT Kits
No Comments
 DennisB DenLorsTools.com © Summary: The Time Sert 5600 is one of our most popular spark plug thread repair kits. This is because it can handle the repair of the largest blown out spark plug holes out there. With so many inferior type repairs sold at parts stores, that typically end up failing or never hold to begin with and ALWAYS make the hole bigger, the Time Sert 5600 Triple Oversized thread repair has finding it’s way into more and more vehicle and shop owner’s hands!
You’ve got questions, Dennis our resident master tech has answers… including a how to video of him demonstrating the use of the Time Sert 5600 in a Ford F150!
We don’t sell on Amazon or Ebay, so remember to get the free next day shipping and our exclusive Tips, order from DenLorsTools.com or WiseAutoTools.com. Just mention on the phone that you would like the tips or if checking out online, write tips in the comment section during check out. Have questions? Want to know what’s in the box? See below. Read the rest…
October 14, 2014
Auto Specialty Tools, TIME-SERT Kits
3 Comments
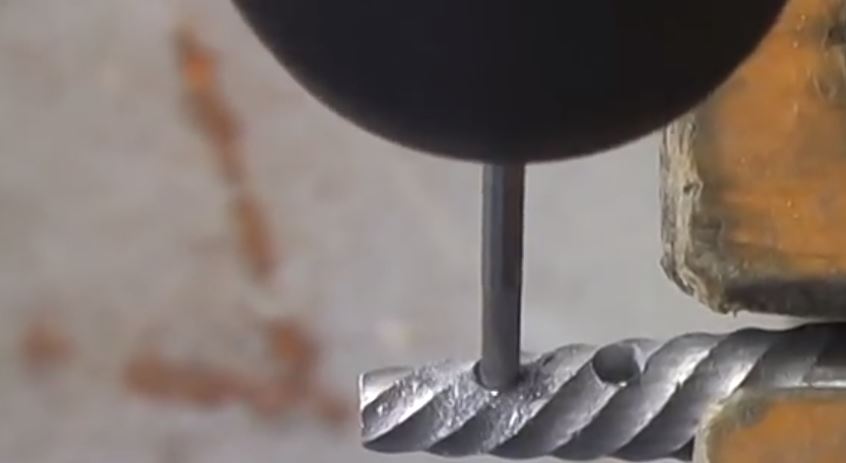 DenLorsTools.com Summary: FAQ’s for the Rescue Bit. Easy outs are not easy to drill. The metal is so hard that a regular or even a cobalt drill bit cannot touch it. We have had many customers call to ask what do you have that can drill out a broken tool like this? Fortunately, we have a tool that answers this question. “How do you drill out and remove a broken EZ-Out?” Read below or go directly to our Rescue Bits For Sale section. Read the rest…
February 11, 2014
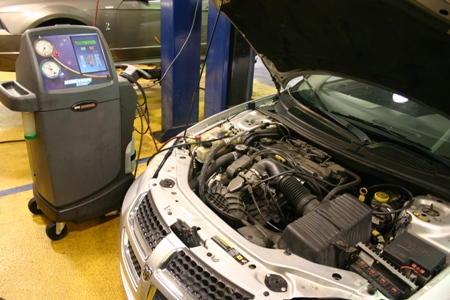
Alternator
No Comments

DenLorsTools.com Summary: Car repair and tool blog featuring specialty tools used to find noises in cars with less, or no, tear down. Low tech methods are also discussed like using a piece of heater hose or a long screwdriver held to the ear. Electronic devices improve on these methods quite a bit and also allow checking for noises while driving down the road. See our video talking about different noise detection methods to find unwanted noises like thumps, pops, creaks and rattles. The electronic tools we sell are used to help diagnose these problems easily. Read the rest…
July 9, 2012
Dodge Dakota, How To Auto Repair, Power Windows
No Comments

Fig. 1 After the door panel is removed the motor-regulator assembly comes out easily.
© DenLorsTools.com Summary: Tips on how to replace the window motor and regulator. On my 2007 Dodge Dakota the driver’s side window occasionally would not move (usually it would act up in the McDonald’s drive-thru). Other times it worked OK except for a little slower speed going up compared to the right front window.
Read the rest…
March 13, 2012
General Interest, Paint
1 Comment
© DenLorsTools.com Summary: Anyone who has been in Florida (or many other Gulf states) during May or September may already know that love bugs can damage a vehicle’s paint. What’s been tried and what works best to keep your car’s paint from being damaged?
Read the rest…
September 1, 2011
Bearing Replacement, How To Auto Repair
No Comments
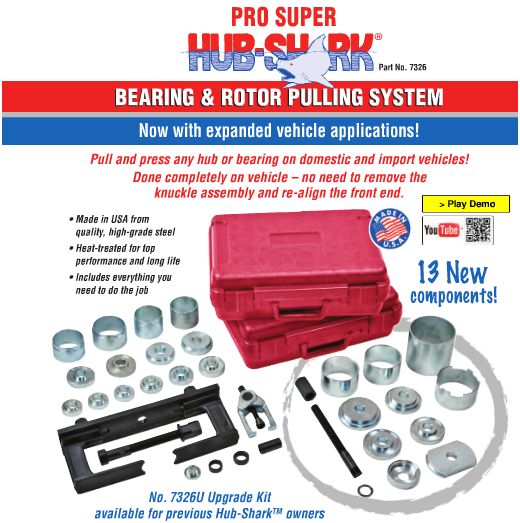
© DenLorsTools.com Summary: Tips from an ASE Master Auto technician. Is the Hub Shark really better than old school bearing replacement? You may be surprised of what we found out. Included in the repair article you’ll see all the latest information on this time saving product. You Tube video, parts breakdown and printable pdf instructions. See how to make front wheel drive bearing jobs into a pleasurable PROFIT experience instead of just a PURE PAIN.
Read the rest…
December 20, 2010
DIY, Engine Replacement, How To Auto Repair, Mechanics Tools
No Comments

© DenLorsTools.com Summary: Advice on changing an engine by a master tech. Changing a motor in a car is a lot of work. With some basic planning and research prior to starting the job, an engine change out will go a lot smoother.
Are You Experienced?
A motor swap is a very involved job and in most cases shouldn’t be attempted by a DIY’er. The best case scenario for someone changing an engine is for the person to first have a lot of experience doing a lot of smaller jobs. For instance if someone already has removed intakes plenty of times, they can pull from that experience when having to change the intake on the replacement engine during the motor swap. If the person has already changed alternators, water pumps, AC compressors, valve covers, timing covers, CV 1/2 shafts, motor mounts and so forth… well you get the idea. Changing a motor in a vehicle is a combination of many small jobs all put together. For a person to feel confident in taking on a large job like replacing an engine, they have to have some experience accomplishing the small jobs that play a large part in the make-up of a motor swap.
Planning Stages
Research is a key factor in successfully changing a motor out. Plan out the job by thinking about the best approach. Refer to an on-line service repair manual to see how the job is recommended. Many motors can be removed from the topside of the automobile. Some cars, particularly with front wheels drives should be removed from underneath by dropping the entire engine cradle or sub-frame. If the motor needs to be lowered from underneath the car then a vehicle lift will be necessary. If the correct equipment is not on hand for the job, you will be fighting an uphill battle. Not to say jobs “at the house” can’t be accomplished, but things are much more difficult without the convenience of all the right tools and equipment. Determine if you have the equipment and tools needed before starting the job.
Misconceptions
Some people think that ALL rear wheel drive cars are easier to do motor swaps in compared to front wheel drives. It all depends on the vehicle. Some rear wheel drive cars have harder engines to change. It all depends on access to all the bolts, positioning of the cab and the motor mount set-up. I have changed a FWD motor before by only removing ONE motor mount! It was a Ford Contour or Mercury Mystique. The mounts were all on the transmission except for the ONE front engine mount. That was a very easy front wheel drive engine to change.
Lifting Points
Before starting on the big job, figure out where the lifting points will be. Many cars have plastic intakes that should NOT be lifted on or stressed by the force of an engine lifting chain. The intake may need to be removed prior to attaching the engine chain or load leveler. Some cars will have lifting brackets already in place on the motor. Sometimes brackets can be purchased for specific models. Other times substantial bolts can be used in the engine block or sometimes the exhaust manifold studs when attaching the chain. It’s important to consider the over-all weight and if the heads are aluminum or not when deciding where to hook up the engine chain. I’ve used nylon straps before to attach to motors for pulling them. Nylon straps are much more forgiving than steel chains when up against plastic intakes and other components. Load levelers can be helpful in tilting the motor for lining it up with the transmission. The drawback to using a load leveler is that they are bulky and sometimes in the way. With that being said they really do save your back, since you can adjust the tilt with an easy adjustment instead of physically having to twist and tilt the motor with brute force!
Extra Access and Light
Remove the hood to allow for more light on the subject. Also it helps to prevent damage to the hood when going in and out with the engine crane. The hood should be placed in an out of the way area to help prevent it from being damage while the motor swap is being done. The hood sliding off the roof of the car can cause a lot damaged very quickly! By having the hood off, there will be a lot more light on the engine. Also have a good drop light and flashlight to make things go easier. One of the hardest things to do is to work an a car in a dimly lit area… frustrating and more time consuming.
Related Mechanics Tools & Auto Repair Articles
3.6 Engine Bracket
Dodge Caravan Engine Change 2001-2007 Generation 4
Auto Tools
October 2, 2010
Auto Specialty Tools, DIY, Honda, How To Auto Repair, Timing Belt
No Comments
Still image above – see bottom of the article for our DIY video.
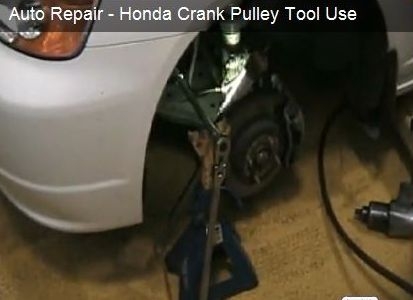
© DenLorsTools.com Summary: Honda crank pulley tool info. Questions and answers in comment section. In 2005 the first car repair article written for DenLors Tools was on Honda and Acura crankshaft bolt removal. Before that, many years ago, in the early nineties prior to selling automotive tools for a living, I worked at a car repair shop as a tech in Lakeland Florida and had a timing belt job. To my surprise the Honda had a very tight crank bolt to loosen. In fact it was so difficult to loosen (without the correct tool) that I was unable to remove it to replace the timing belt. Hating to lose a gravy job and being on flat rate… I tried everything. The problem was that the whole engine turns when trying to loosen the bolt. Read the rest…
August 8, 2009
Air Conditioning, DIY, Evap Replacement, How To Auto Repair
2 Comments
Pictures are of a 2004 Dodge Stratus like the Chrysler Sebring – click on images for a larger view.
© DenLorsTools.com Summary: In this automotive repair blog, we provide some helpful information on how to R&R (Remove and Replace) the evaporator in a 2004 Dodge Stratus. Replacing the heater core is basically the same job, except for the replacement of the receiver drier. These tips are for the 4 door sedan, yes the the coupe and the convertible may be different depending on the year. If working on a different model or year it would be advisable to refer to an auto repair manual. Auto repair manuals provide detailed info on changing components like the evaporator in any model. Just keep in mind that for evaporator or heater core replacement, most of them will say “see removal of instrument panel.” Which is accurate except for the fact that if all you’re doing is moving the dash to access the evaporator case, dismantling the dash isn’t really needed. If the instrument panel is removed as described in most auto repair manuals, many more parts will be removed unnecessarily.
Read the rest…
March 1, 2009
How To Auto Repair
4 Comments
Image courtesy of MustangForums.com
Heli coils are used in many applications when threads are damaged, but what happens if you need to remove one? If the depth of the threads is too long or not long enough there could be a need to remove the Helicoil and install one with the correct length. Also if the threads are rough or you’ve found a better insert to install, removing the Heli-Coil insert could be an obstacle.
Read the rest…
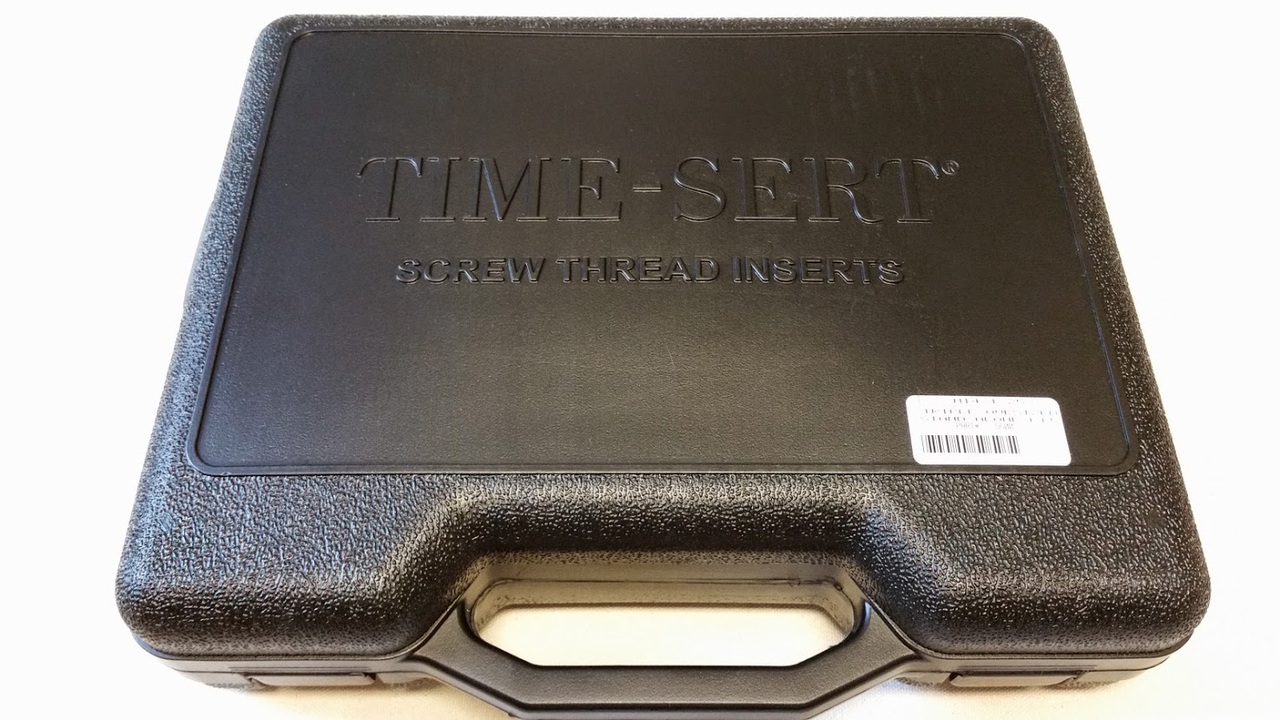 DennisB DenLorsTools.com © Summary: The Time Sert 5600 is one of our most popular spark plug thread repair kits. This is because it can handle the repair of the largest blown out spark plug holes out there. With so many inferior type repairs sold at parts stores, that typically end up failing or never hold to begin with and ALWAYS make the hole bigger, the Time Sert 5600 Triple Oversized thread repair has finding it’s way into more and more vehicle and shop owner’s hands!